
What is the Slab Technique?
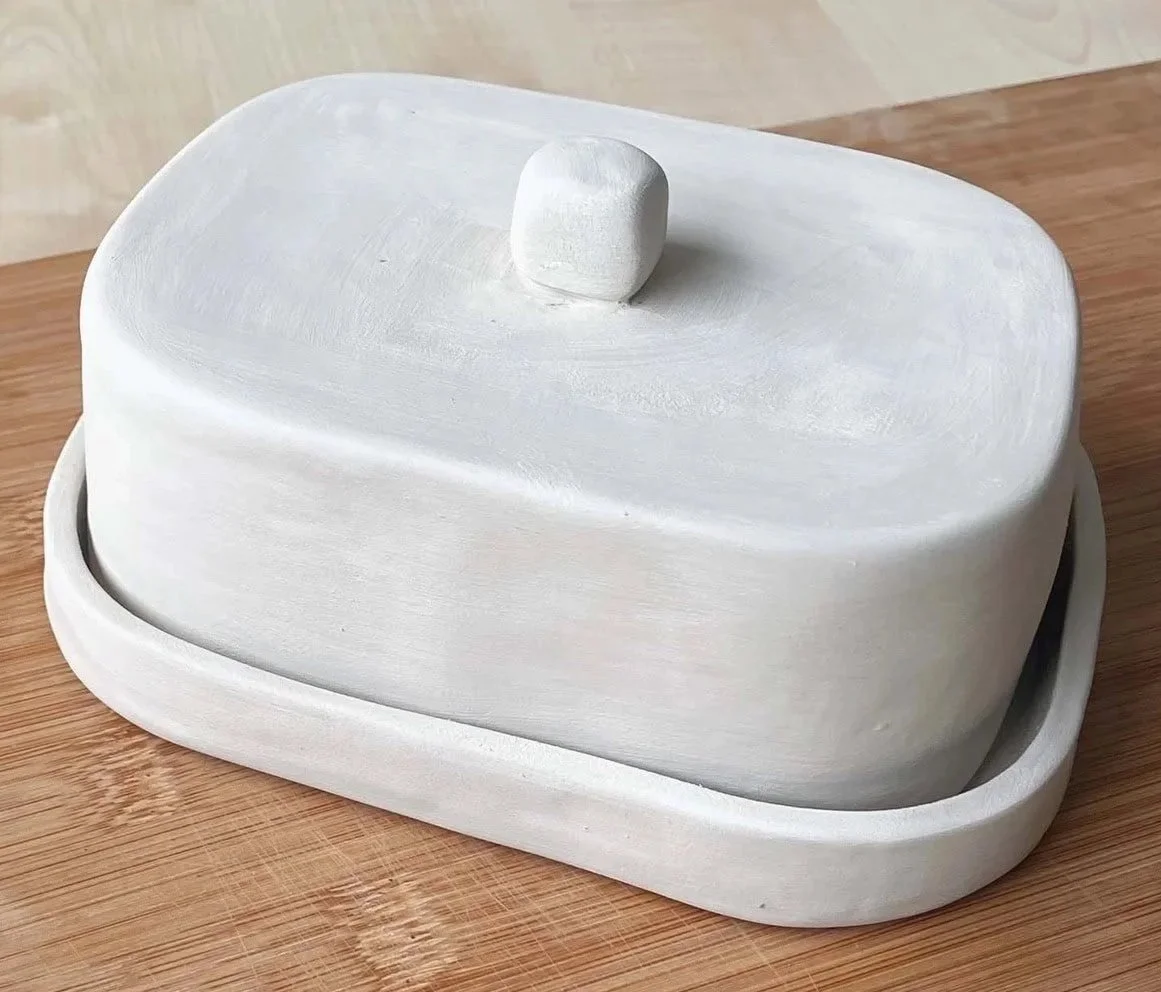
The slab technique involves forming clay into flat pieces or ‘slabs’, usually by rolling. These slabs are then manipulated and assembled to create a variety of shapes. Sounds easy, but wait until you get your hands dirty!
Here are the steps you follow for the slab technique:
1. Prepare the Clay: Knead the clay to remove air bubbles and achieve an even consistency.
2. Roll out the Slabs: Using a rolling pin or slab roller, roll out the clay into flat slabs of your desired thickness. Aim for an even thickness of about 5mm for small ceramics, 12mm for larger pieces.
3. Cut the Slabs: Depending on the shape you want to create, cut the slabs using cutting tools or templates.
4. Assemble the Pieces: Join the cut pieces together using slip [a mixture of clay and water] as a sort of ‘clay glue.’
5. Smooth the Joints: Use your fingers or a smoothing tool to blend the joints together and ensure the piece is secure.
Tips to help with the slab technique.
Work on a ceramic bat or board to allow ease of relocation of your slab creation, when waiting for drying to occur.
Don’t forget to place your maker’s mark on the bottom of your base slab.
Depending upon your design you may need to dry the slabs to ‘leather hard’ so that they can withstand the weight of the design and not collapse or warp.
Or you can use the slabs when they are moist so that you can bend or manipulate them into your design.
Along the joins of your design make sure that you score and use slip on all of the edges.
If you are using a rolling pin to generate your slabs, a handy tip is to use two pieces of identically thick timber as runners, to guide your roller and make the slabs an even thickness.
The best bit about slab building is that you can construct your design quickly compared to other hand building methods.